Getting a new structure up in your backyard — whether it’s a garage, an ADU, a workshop, or a storage shed — starts long before the first nail goes in. The honest answer to how you prepare your backyard for a new building is this: clear the area, assess the soil, handle utilities, level and grade the ground, and make sure permits are in order.
Do those five things correctly and everything else follows naturally. That said, skipping or rushing any one of them can cost you weeks and thousands of dollars down the line, so it’s worth understanding each step in detail.
Start with permits and property lines
Before you pick up a shovel, pull out your property survey or order a new one. Building even a small shed within a setback zone — the required distance from your property line — can mean tearing it down at your own expense. Most municipalities require a permit for any structure over 120 square feet, and some require them for anything permanent, regardless of size.
Call your local building department, explain what you’re planning, and ask what permits are required. While you’re at it, ask about zoning restrictions, impervious surface limits (which affect how much concrete or hardscape you can add), and HOA rules if applicable. Getting this sorted first prevents you from having to redesign your project mid-build.
Locate and mark underground utilities
In the US, you’re required to call 811 before any digging project. This free service dispatches locators to mark buried lines — gas, electric, water, sewer, telecom — with color-coded spray paint. It typically takes two to three business days, so plan accordingly.
Don’t assume your backyard is clear just because you’ve lived there for years. Irrigation lines, invisible fence wires, and old drainage systems often aren’t on any official map. Walk the area carefully and note anything unusual before breaking ground.
Clear the area completely
Remove everything from the footprint of the new building and a generous buffer zone around it — equipment needs room to maneuver. That means:
- Trees and stumps (roots can lift foundations over time);
- Shrubs and dense vegetation;
- Old fencing, raised beds, or hardscape that sits in the way;
- Debris, old lumber, rocks, or any buried junk;
- Topsoil and organic material from the building footprint itself.
Topsoil is soft and full of organic material that compresses and decays over time — you don’t want that under your foundation. Strip it down to subsoil, typically 6 to 12 inches depending on your area.
Test and evaluate the soil
Soil quality varies enormously from yard to yard, and it directly affects what kind of foundation your building can support. Clay-heavy soil retains water and shifts seasonally. Sandy or loose soil drains well but may lack the load-bearing capacity needed for anything substantial.
A basic soil test from your local cooperative extension office costs very little and gives you valuable data. For larger structures, a geotechnical assessment by a licensed engineer is worth the investment — it tells you exactly what the ground can handle and whether soil amendments or deep footings are needed.
Proper site preparation takes this information into account before a single load of gravel is ordered. It’s the difference between a building that stays level for decades and one that shifts, cracks, and becomes a headache five years in.
Grade and level the ground
Grading is the process of reshaping the ground so it’s flat where you need it to be and sloped properly away from the building to direct water drainage. This step is often underestimated by homeowners doing their first build.
The ground under your building must be level. The ground around it should slope away at roughly a 5% grade for the first 10 feet — that’s about 6 inches of drop — to prevent water from pooling against your foundation or slab.
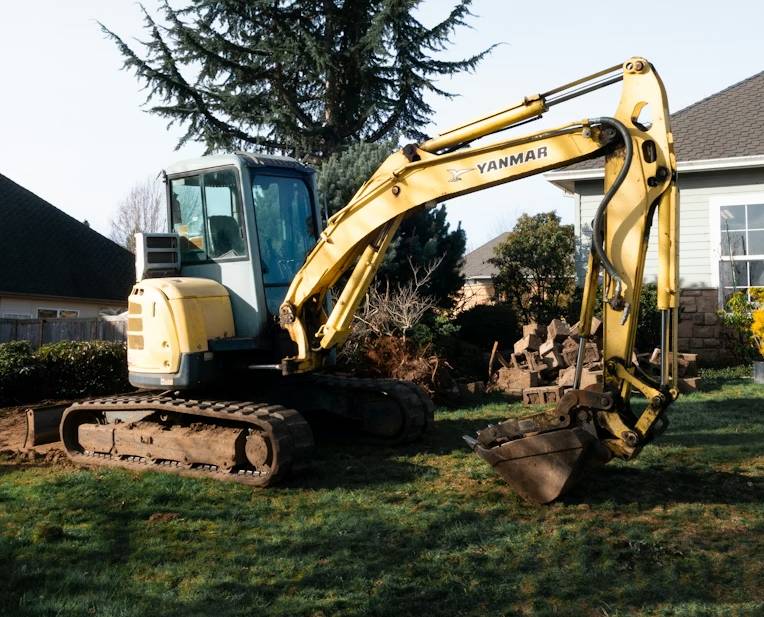
If your yard has significant slope, you may need cut-and-fill work, retaining walls, or a deeper foundation on the downhill side. This is where renting a skid steer or hiring a grading contractor pays for itself quickly.
Compact the base and add appropriate fill
Once the area is graded, the exposed subsoil needs to be compacted before any base material goes down. A plate compactor — available at most tool rental shops for around $80 a day — is the right tool for this. Don’t skip this step; uncompacted soil settles unevenly and can cause your slab or piers to shift.
After compaction, most residential building pads use a layer of compacted crushed stone (typically 4 to 6 inches of 3/4-inch clean crushed stone or processed gravel) as a base. This creates a stable, well-draining layer that also reduces frost heave in colder climates.
For concrete slabs, a vapor barrier — 6-mil polyethylene sheeting — is placed over the gravel base before the pour. This keeps ground moisture from wicking up through the slab and causing problems inside the building.
Plan for drainage before you build
Poor drainage is one of the most common reasons backyard structures fail prematurely. Water that has nowhere to go ends up under your foundation, in your walls, or pooling against your slab.
Consider where the roof runoff will go once the building is up. Depending on your setup, you may need French drains, a swale along one side, downspout extensions, or a dry well. Address drainage in the prep phase — it’s far more expensive and disruptive to fix after the structure is standing.
Access routes and equipment staging
One thing first-time builders often overlook: how is equipment and material getting into the backyard? If you have a standard 36-inch gate, a full-size skid steer isn’t getting through. Mini excavators and compact equipment are available, but they have limitations.
Walk your access route with a measuring tape before you book any equipment or schedule deliveries. Mark where concrete trucks, lumber deliveries, and gravel drops will stage. Protecting your lawn and existing landscaping during this phase is also worth thinking about — put down protective mats on high-traffic routes if you care about the grass.
When to hire professionals
Backyard prep is one of those projects where experience makes an enormous difference. If the job involves significant grading, tree removal, underground utility work, or a complex drainage situation, hiring a specialist is almost always the smarter financial decision.
For homeowners in this situation, working with a backyard site preparation expert like “Site Prep” takes the guesswork out of the process entirely. From soil assessment through final grading and compaction, having a crew that does this day-in and day-out means fewer surprises, faster turnaround, and a pad that meets building code without a second visit.
Final checklist before construction begins
Run through this list before giving a contractor the green light or starting the foundation work yourself:
- Permits pulled and approved;
- 811 call made, utilities marked;
- Property lines confirmed, setbacks verified;
- Area cleared down to subsoil;
- Soil tested or assessed;
- Grading completed with proper drainage slope;
- Base compacted and fill layer in place;
- Drainage plan addressed;
- Access route measured and staged.
Nail every item on that list and you’re starting your build on solid ground — literally. The prep phase isn’t glamorous, but it’s the reason some backyard buildings stand straight and solid for 30 years while others develop problems in the first five.