Before you look at arms or risers, audit the surface that will carry everything. Measure usable depth from the front edge to the wall, not the whole slab. If you have less than 60–65 cm, a deep stand that pushes the screen forward will cramp your elbows and swallow writing space.
Check the back edge: a thick lip or rounded profile can fight a clamp. Sit as you would for an hour of work and note eye line, shoulder height, and where your hands land when you relax. The right mount should bring the screen to your eyes without a shrug and give your wrists a neutral line across the keys. That’s the baseline; the hardware comes after.
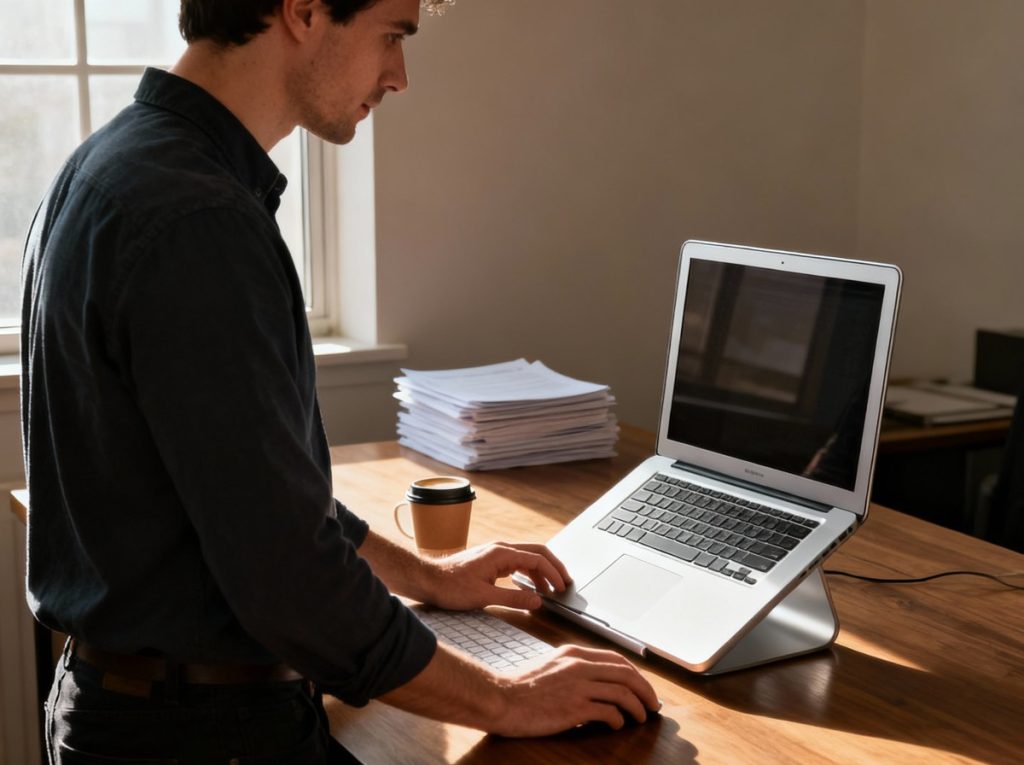
Now look at how you actually work. If you live on a laptop keyboard with the screen high, your neck will complain. A separate board on the desk with the laptop lifted is kinder on the body and frees the trackpad space for a real mouse. For tight desks, a compact tray on an arm clears the surface and lets you swing the computer aside when you sketch or read.
When that tray also clamps to an arm, you gain fine height and tilt control instead of settling for “almost right.” In that case, a purpose-built laptop holder for desk makes life easier than a generic shelf because the lip, straps, and rubber pads keep your machine steady when you adjust.
Arm, Riser, or Freestanding Base?
Each has a job. A simple riser works when you want the laptop screen higher and don’t plan to move it much. It’s stable, quick to set up, and cheap in space. An arm earns its keep when you share the desk with other tasks or other people.
Swing the setup toward you for focus work, park it back for a notebook, or pivot it for a quick shoulder-to-shoulder review. Freestanding bases live where clamps can’t, like glass desks, rentals with delicate tops, or antique tables you don’t want to mark. They do take more surface area, so plan cable runs with that footprint in mind.
If you pair a laptop with one external monitor today, think a step ahead. Many people add a second screen within a year once they feel the relief of extra space. Rather than buying twice, pick hardware that can carry you forward.
Dual-arm kits with a tray give you that path: start with one panel and the laptop, later swap the tray for another screen if your work changes. A clean option is a compact dual arm with a removable tray; you get tidy motion now and a painless upgrade later.
When you search, terms like laptop and monitor stands bring up kits that solve both phases without a pile of adapters.
Weight, VESA, and the Boring Details that Avoid Returns
Check three numbers: the laptop weight with the tray, the monitor weight without the stand, and the VESA pattern on the back of the panel. Most modern arms handle common 75 x 75 and 100 x 100 patterns; ultra-wide or heavy panels may need a stronger spring or a spacer kit.
If your screen is a featherweight, you can still balance a stiffer arm by turning the tension down, but there’s a floor. Aim to be in the middle of an arm’s range, so the screen stays where you put it and doesn’t creep over the day.
For laptops, look at tray width and lip height. You want a snug fit that doesn’t block side ports and a strap that keeps the lid from yawning when you tilt.
Mind the clamp, too. A standard C-clamp wants a flat underside within reach of its jaw. If your desk has a thick apron, a grommet mount through a cable hole can be cleaner and stronger.
On delicate tops, add a thin pad between the clamp and the desk to spread pressure and protect the finish. These small checks save you from the “why won’t this tightens” spiral on a Sunday night.
Cable Sanity, Heat, and All-day Comfort
Once the hardware is up, the little things decide whether you enjoy it. Route laptop power, video, and USB in one gentle loop that follows the arm’s path; leave slack for full extension, so the plug doesn’t pull when you stand. If your machine supports USB-C video and power, a single cable to a small hub clears visual noise and makes it easy to undock.
Heat matters too. Laptops need air under them, especially when they feed two high-refresh panels. A vented tray helps. If you hear the fans spin up every time you open a few heavy files, give the rear edge a touch more lift and keep the vents clear of a wall.
Comfort is rarely one grand change; it’s a pile of small ones. Nudge the top of the main panel to about eye level, tilt it slightly back to reduce glare, and set the laptop screen secondary and a bit lower if you use it as a side reference.
Your hands should fall to a board you like, with the mouse shoulder-width from your center, so your elbow stays loose. When you switch to standing, keep your setup the same—screen at eye level, elbows at a right angle, and shoulders relaxed.
Small Desk, Rented Room: Setups that Respect Limits
You can still win on a shallow or fragile surface. A slim arm with a narrow clamp leaves more room for hands and paper. If the desk is wobbly, don’t chase tall stacks; a low, stable base with a modest rise can feel better than a lofty stage that shakes when you type.
In a lease or shared space, aim for reversible choices: a freestanding base, a clamp with a soft pad, cable clips that come off clean. Put the hub on the back edge and use short leads, so the bundle doesn’t snag when you swing the tray out of the way.
Think about who else uses the room. If kids sometimes borrow the desk, set gentle spring tension, so the screen doesn’t spring up when someone nudges it. Label the few cables that matter – power, video, upstream – so you can rebuild the hookup in two minutes after a clean.
The more friction you remove, the more likely you are to sit down and start, rather than fuss with wires and angles.
A Setup that Stays Good When Work Changes
Your setup will change over time—more calls, an extra monitor, or a new laptop with different ports. Choose mounts and trays that can handle those changes. Arms with a wide tension range work with both light and heavy screens. Trays with open sides fit new laptops without blocking the ports.
A stand that lets you switch between a tray and a VESA plate saves you from buying new gear later. The goal is straightforward: a desk with more space, a screen that’s comfortable to view for hours, and a laptop that stays cool while it works. When the mount blends into your routine—no sagging, wobbling, or cable pulling—you’ve got it right.