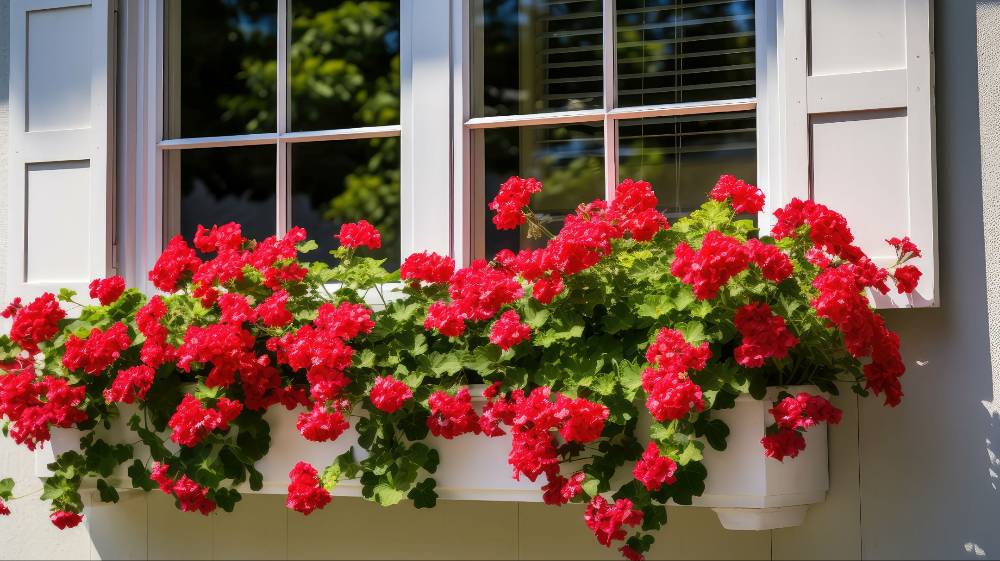
Adding window planter boxes can transform your home’s exterior. Whether you live in an apartment or a house, these boxes bring colour and freshness right to your windows. They offer a great way to display flowers, herbs, or small vegetables while making the space feel warm and inviting.
But not all planters are the same. Some are designed for mounting on wooden sills, while others work better with masonry or vinyl siding.
When making your decision, you ned to consider the weight of the soil, plants, and water. A box that looks pretty but lacks proper support may end up causing damage.
With that in mind, here are the crucial installation steps to ensure your planters stay secure in all seasons:
Use Proper Drainage to Protect Walls
Good drainage keeps your plants healthy and protects your home from water damage. Most planter boxes come with drainage holes, but if yours doesn’t, you should drill a few to let excess water escape. Without proper drainage, water can collect at the bottom and cause root rot or structural issues for the planter.
This is also a good time to consider using planter liners. They act as a barrier between the soil and the box itself, helping to control moisture and extend the life of your window box planter.
They make it easier to clean out the soil and replant as the seasons change. If you’re using wooden boxes, window box liners are handy for preventing rot and reducing the need for frequent repairs.
If space allows, place a tray or saucer beneath the box to avoid staining or damaging your window frame or siding.
This step helps guide the water away from your wall. You should also avoid overwatering, as even with drainage holes and liners, too much water can still lead to problems.
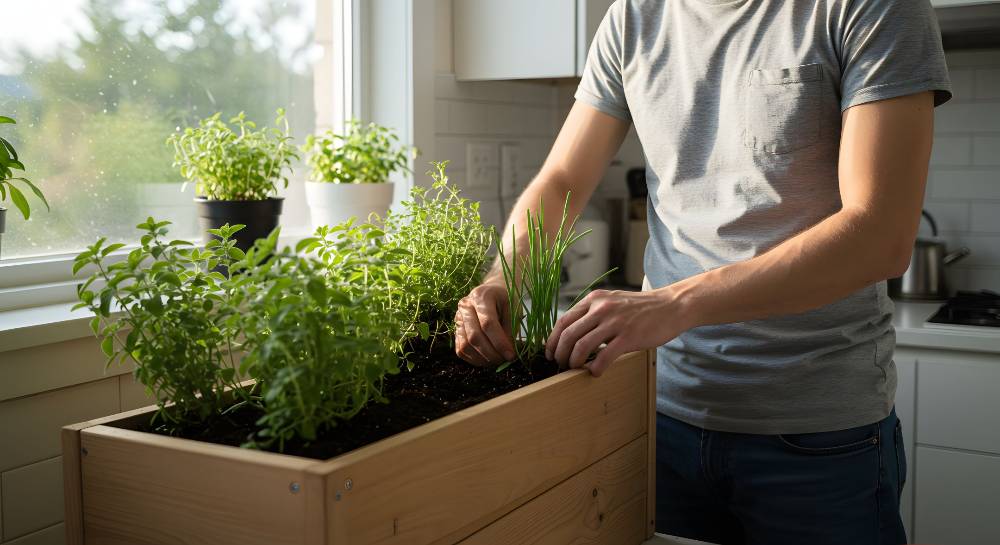
Gather the Right Tools and Supplies
Before starting, you’ll want to have the right tools, including a tape measure, level, impact driver, and drill within reach. Galvanized decking screws are a solid choice for wood surfaces, while masonry screws are better suited for securing boxes to a brick building or concrete wall.
Check the mounting brackets included with your planter to see if they match your wall type. Some surfaces may require wedge-shaped spacers or metal brackets to keep the box steady and aligned.
It’s worth laying everything out and reviewing each part before drilling. That step can prevent delays and reduce the chance of mistakes once the work begins.
Depending on your setup, you might also need structural screws and exterior grade silicone to add strength and seal any gaps. These materials help ensure the window box stays in place through changing weather.
Install the Brackets Securely
Brackets support the full weight of your planter, so correct placement matters. Choose the perfect spot for each box and drill pilot holes to avoid splitting the wood or damaging the wall surface. Use power tools with the right bit to match your mounting brackets and wall material.
Before fastening anything, grab your level and double-check each bracket’s position. Uneven placement can cause the box to lean or pull away from the wall over time. For longer boxes or heavier setups, adding a third metal bracket in the center improves balance.
On homes with vinyl siding, wedge-shaped spacers may be needed to create a flush surface between the bracket and the wall. Always tighten each screw fully and ensure all parts sit flat for a clean, stable fit.
Attach the Planter Box to the Brackets
Once the brackets are in place, position the window box planter carefully. Most designs rest directly on the supports, though some setups may require mounting brackets or extra screws to hold the box steady.
It’s best to lift the planter before filling it with soil, since an empty box is easier to align and won’t place added stress on the brackets.
After setting the box on the supports, check for pre-drilled screw holes along the inside. Use short galvanized decking screws that stay within the material and avoid poking through the exterior. When everything is secure, give the box a gentle tug to make sure it holds firmly.
Test Stability Before Planting
Check the planter’s stability before adding anything inside. Apply light pressure to different sections of the window box planter to see whether they shift or creak.
Loose mounting brackets or uneven support can cause problems once weight is added, so it’s worth adjusting the structural screws now instead of dealing with damage later.
Rushing into planting can cause cracks near the window frame or stress on the metal brackets. Start with a small amount of soil and gradually build up from there. Watching how the box holds up under pressure helps you catch issues early and avoid future repairs.
Window planter boxes bring nature closer, letting you enjoy herbs, flowers, or greenery in small spaces. Even if you don’t have a big garden, a well-placed window box can brighten your day and boost your home’s curb appeal with minimal effort.
The best part about all this? You can even set it up while listening to a podcast or enjoying your morning coffee.
Conclusion
Attaching window planter boxes adds charm and life to your home. They offer a simple yet effective way to show off your gardening skills and brighten up your space. Taking time to install them the right way pays off in both beauty and peace of mind.
With the proper tools, careful measurements, and regular upkeep, your planter boxes will remain a stable and stylish addition for years.