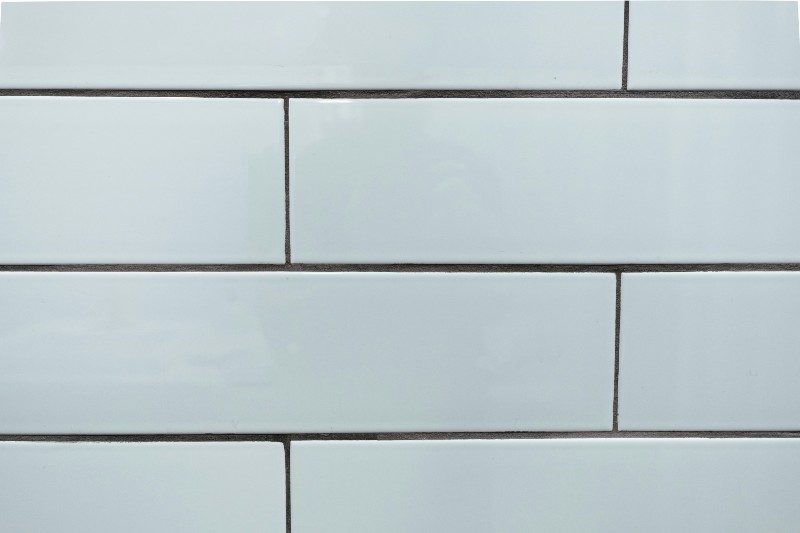
Installing new tiles can make your bathroom or kitchen look fresh and modern, but you’re likely asking how long it takes for grout to dry, especially if you’re eager to use the space again.
To ensure the longevity and effectiveness of your new tiling job, you need to give the grout enough time to dry and cure.
Here we’ll talk about the details of drying times, the factors that affect them, and how to handle the wait.
How Long Does It Take for Grout to Dry?
When you’ve invested time and effort into retiling your kitchen backsplash or sprucing up your bathroom, the question of when you can walk on the tile or use the shower is often pressing.
Generally, grout takes about 24 to 72 hours to dry and start to cure. However, the complete curing process, which solidifies the grout and ensures its durability, can take up to a few weeks depending on the conditions and type of grout used.
Grout serves a vital purpose beyond just filling the gaps between tiles. It secures the tiles in place, keeps moisture out, and provides a finished look.
5 Major Factors That Can Affect The Time It Takes to Dry
The time it takes for grout to dry can vary depending on several factors. Being informed about these can help you plan effectively, ensuring you don’t use your beautiful new tiled area too soon.
1. Type of Grout
It can help you get the best results from your tiling if you understand the specifics of how different types of grout dry.
Epoxy grout is known for its durability and quick drying time, often being ready for light traffic after only 24 hours.
Conversely, cement-based grouts typically require at least 48 to 72 hours before they’re dry to the touch, with additional time needed for full curing.
2. Humidity Level
The moisture in the air plays an important role in the drying time of grout. High humidity can prolong the drying process, as the grout absorbs the moisture from the air.
As you can understand, in low humidity conditions, grout can dry and cure faster. Meanwhile, you also need to take into account local weather patterns when planning your tiling project.
3. Whether You’re Working Inside or Outside
Interior and exterior settings also have different drying dynamics. Outdoor grouting projects can be subject to fluctuations in weather, which will affect how quickly the grout sets.
On the other hand, indoor grout work provides more controlled conditions, but still, the environment inside your home, such as temperature and airflow, will influence drying times.
4. Grout Sealer
Once your grout has dried, you might consider applying a grout sealer to protect it from moisture and stains.
However, the applied sealer will add another layer to the drying process. Therefore, the grout will need to be dry before the sealer is applied, and then the sealer itself needs time to dry. You can refer to the manufacturer’s instructions for the appropriate drying time for the sealer you’re using.
5. Amount of Water Added
The consistency of your grout mix is pivotal. If too much water is added, not only will it weaken the structure of the grout, but it will also extend the drying time. You’ll see the water-to-grout ratio to ensure optimum drying time and strength in the manufacturer’s guidelines.
Why Wait for Grout to Dry?
It’s tempting to want to use your newly tiled area as soon as possible. However, giving grout
the time to dry is important for both its performance and appearance. If grout isn’t allowed to dry appropriately, it can become compromised in several ways:
- The grout could shrink, crack, or crumble, leading to a need for premature repairs or replacement.
- In areas exposed to moisture, like bathrooms, insufficiently dried grout can lead to water seeping beneath tiles, creating the perfect environment for mold and mildew to grow.
- The grout may not bond adequately to the tiles, which weakens the entire tile installation and can result in loose or broken tiles over time.
By allowing the grout to dry and cure completely, you’re essentially ensuring the longevity of your tiling work and protecting your investment. It’s a waiting game that pays off by preserving the tiled area’s functionality and keeping it looking great for years to come.
How to Make Grout Dry Faster?
If you’re in a situation where you need to speed up the grout drying process, there are a few strategies that can help. Although these methods can expedite drying, you still need to allow for the full curing time recommended by the grout manufacturer.
1. Improve Air Circulation
Enhancing airflow can help moisture to evaporate from the grout faster. Use fans, air conditioning, or natural ventilation to create a breeze across the tiled surface. If you’re working in a bathroom with no windows, a fan can be especially beneficial. Just ensure the air isn’t blowing directly on the grout with too much force, as this could cause uneven drying.
2. Control Humidity and Temperature
A dehumidifier can work wonders in areas with high humidity, pulling excess moisture from the air and thus helping the grout to set faster. Temperature also influences drying time; keeping the room at a steady, warm temperature helps grout dry more efficiently.
Aim for a temperature around 70 degrees Fahrenheit, but avoid drastic temperature changes as they can cause the grout to dry too quickly, leading to cracks.
3. Use a Grout Accelerator
Some grout products come with accelerators or are formulated to dry faster. These additives can speed up the curing process, meaning you can use your tiled space sooner. Always follow the manufacturer’s instructions when using accelerators to ensure the best results.
4. Keep the Area Dry
Any additional moisture can slow down the drying process, so you need to keep the newly grouted area dry. Cover the work area to protect it from spills, and if it’s an outdoor area,
consider temporarily shielding it from rain or dew. In a bathroom remodel, for example, avoid using the shower or tub until the grout has adequately dried.
5. Limit Traffic
Walking on or applying pressure to the tiles before the grout has set can weaken the grout lines. If you must cross over the tiled area, tread lightly and avoid doing so until at least 24 hours have passed. The longer you can avoid foot traffic on the area, the better the grout will set and the stronger it will be.
Be mindful of these tips and maintaining patience, you can help your grout dry a bit faster while still ensuring it sets properly for a durable finish. While it may be inconvenient to wait, hastily using the tiled area can lead to damage that is time-consuming and costly to repair.
Taking the proper steps and precautions during the drying period will ensure your tiles remain firmly in place and looking their best.
Conclusion
Grouting is a critical step in tile installation, and giving the grout enough time to dry is important to the project’s overall success.
Whether you’re upgrading your bathroom, creating a stylish kitchen backsplash, or laying out a new tiled floor, paying attention to the grout drying times is worthwhile for achieving good results.
So respect the process, understand the factors at play, and consider the tips for speeding up drying time if necessary.